
Learn the way to create zebra pattern nails, which give a new look to obtain the newest ideas at your fingertips.
Nail art might appear difficult, but it’s not and you’ll develop some amazing results by yourself. Just wake up your innovative mind and let’s start.
Supplies Needed:
You’ll need a white nail polish, Base and top coat, water, thin brush, and a nail polish of your choice
White Base:

Use an acrylic paint because it dries quickly and makes your nails shinier and an easily manageable. Make sure to begin with a white coat and mix it with a water.
Tiny Brush Kit:

Use a dotting toolkit, because it contains brush with a flat end and small line.
Paint:
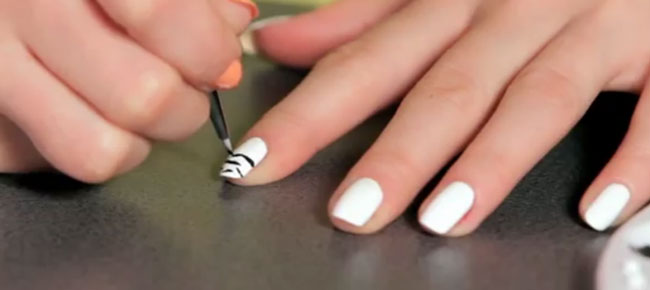
Start drawing a design on your nails with a thicker lines in the center and thinner lines at the end and you can easily go with the design, when you have done the mistake and slips off from the sides of your nail.
Dip Your Brush:
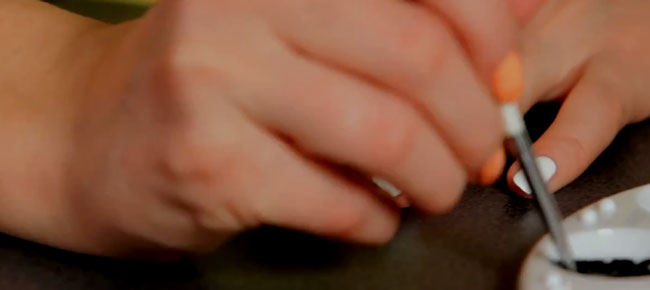
While you are painting on your nails, make sure that the water bubbles doesn’t exist above the nails. For this secure that the brush with water perfectly clean.
Cover Entire Nail:
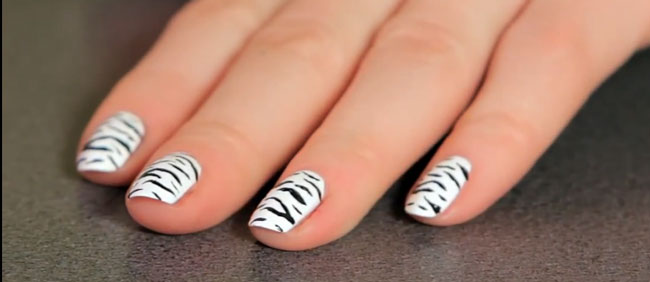
The design is very beneficial because all the strip and lines are not same and particular, make sure that the design size of the pattern match with your nail size.
Put a Top Coat on it:

It looks nice and shiny.
Note:
- Do not touch your nails till its dry.
- Make sure your nails are completely dry.
- Topcoat provides your nail some further glow.
For more detail, visit;